Nateraz bez slov – text bude doplneny neskor.
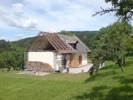
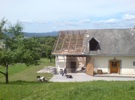
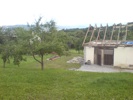

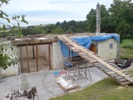
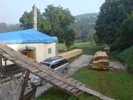
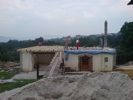
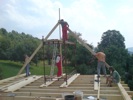
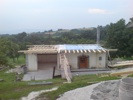

The view through the dorm window

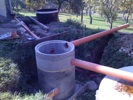
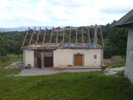
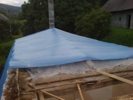
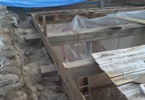
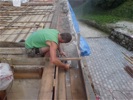
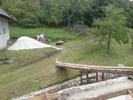
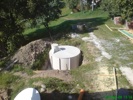
Putting together the “great waterworks”. On the right, the whole rain-water-gathering installation is complete. It will collect water from both – the lower house that I have been re-building this year as well as from the roof of the old house that I have not touched this year. The right pic shows a concrete “sedimentation” tank into which 2 pipes from the roofs of the 2 houses lead, one thick pipe pointing to the right that will lead water to the 9 cubic meter water tank. The long thick pipe pointing toward the orchard will lead overflow water out. The whole spider of pipes will be of course covered with dirt once I am sure the system does not have any major leaks or shortcomings.
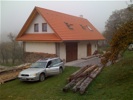

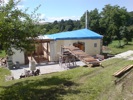
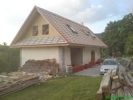
The house with a new garage door and the door detail.

This is a look into the staircase opening. A nice staircase from salvaged (from the house) old oak wood beams and planks will be done in December (or early January) so until then I will have to build some temporary one; or climb up and down on a ladder just like the Anasazis did in their pueblos 🙂
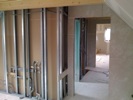
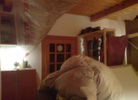
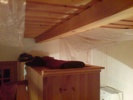
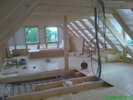
A view from the “northern” room upstairs through the door opening towards the “southern” room. On the left the outside bathroom walls are still exposed as the electricity and water installations were being put into them.


Two views to the bathroom – the left pic shows the wall where the sink and washing machine will be. Toilet will be under the roof window. The right picture shows the corner where the shower will be installed.

A view from the “southern” room towards the “northern” one.
December 2008
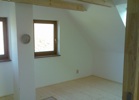


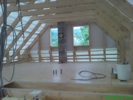
The attic is done with one small exception – the tiles at the base of the chimney in the “northern” room need to be laid in. In couple of weeks the staircase will be installed and the staircase corner re-painted. That will conclude my remodeling efforts of the roof area.
February 2009

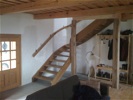
Finally – in the middle of January the staircase was installed. The corner needs to be re-painted and some minor touch-ups need to be done here and there, but I consider the rebuilding activities to be over now.


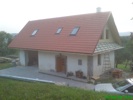
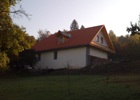
Alex- the house looks great!
when are you opening the B&B?
What a fantastic project!
Are you building a castle for a potential princess??
It looks like things are going well for you, which makes me very happy. Any chance you will be visiting here in the near future?
Marvelous!!!!! Hope we can join you there sometime….or you here anytime!
You must have established a good relationship with some great craftsmen, or become one yourself. The staircase is particularly beautiful in form. Congratulations! Indoor plumbing = good thing.
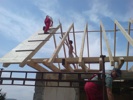
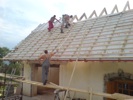
Juliet, the carpenter I hired is indeed very good. He is from a village nearby. He totally surprised me with the staircase design – I haven’t had any say to the way the thing was designed. He showed up one happy day here with the staircase already done. He and his brother did also the whole roof construction. I was lucky to find these guys.
Ahoj Ša?o,
nahodou som natrafil na tvoj blog a mas tu hodne uzitocnych informacii, thanks for sharing!!!
Pustil som sa tento rok do dlhodobej prestavby podobnej len vacsej kamennej stavby (200 rocna) tiez vo svahu v PP… nieje to tak poctivo zmurovane ako ten tvoj ale bojujeme ako sa da. Mame uz hotovu drevenu nadstavbu, zakrytu a tiez priznane tramove stropy.
Ak mozem jednu otazku, aku si daval skladbu podlahy nad tramovym stropom? Dakujem za tvoj cas a prajem vela prijemnych chvil stravenych na tom skvelom mieste co si vytvoril poctivou pracou
Ahoj Jano,
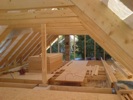
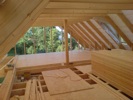
Nad priznanymi hradami su dosky – tiez viditelne zo spodu a na nich je asi 40 cm izolacnej mineralnej vlny. Nad nou su stresne horizontalne hrady na ktorych su polozene dve vrstvy OSB dosiek. Medzi nimi je cca 4 mm vrstva makkeho, sltacitelneho bublinkoveho plastu – vraj na zabranenie vrzgania. Na OSB doskach je podlaha z dosak – ako vidno aj na fotkach. Ak to nie je jasne, tak mozem vyprodukovat nakres.
Mas nejake fotky svojho domu?
Sano
Ahoj, je mi to jasne celkom dik moc, fotky nejake mam ale nie na verejnom webe, hodim na panoramio a poslem link.
vdaka
Konecne som natahal nejake fotky zo stavby ako som pisal v septembri, idem tento rok tiez robit terenne upravy nad domom + murik, tvoj ukladany kamen a dlazba sa ti osvedcili?
http://www.panoramio.com/user/172790?show=all
Pekne miesto. Kamenna dlazba a murik drzia. Minuly rok som konecne dorobil pivnicu – s kamennou klenbou a kamennym portalom. Musim sa dokopat k tomu ze sem nalepim o tom informaciu.